Casio Adaptor User's Guide
Browse online or download User's Guide for Networking Casio Adaptor. Casio Adaptor User`s guide User Manual
- Page / 37
- Table of contents
- BOOKMARKS
- USER’S GUIDE 1
- GUÍA DEL USUARIO 1
- Important! 2
- IMPORTANT SAFETY INSTRUCTIONS 2
- FCC WARNING 2
- Declaration of Conformity 2
- Contents 3
- General Guide 4
- FUNCTION Button 5
- Power Outlet 6
- Connections 7
- Connecting a Pedal 8
- Bundled and Optional 8
- Accessories 8
- Bass Tones (BASS 1, BASS 2) 10
- Layering Two Tones 11
- Using Effects 12
- Using the Metronome 12
- Playing a Piano Duet 13
- Playing with Different Tones 14
- Playing Back Built-in Songs 15
- PREPARATION 16
- Recording and Play Back 17
- Example: Track 1 selected 18
- To record to one track of a 19
- Playing Back from Digital 19
- Piano Memory 19
- Deleting Recorded Data 20
- FUNCTION 21
- [Left keyboard] 22
- [Overall] 22
- [Center keyboard] 22
- [Right keyboard] 22
- Parameter List 23
- ■ Keyboard 24
- ■ MIDI and Other Settings 25
- Connecting to a Computer 26
- Using MIDI 27
- Computer 27
- Copyrights 29
- Reference 30
- Product Specifications 31
- Operating Precautions 32
- Appendix/Apéndice 34
- MIDI Implementation Chart 35
- MA1104-A Printed in China 37
- PX135-ES-1A 37
Summary of Contents
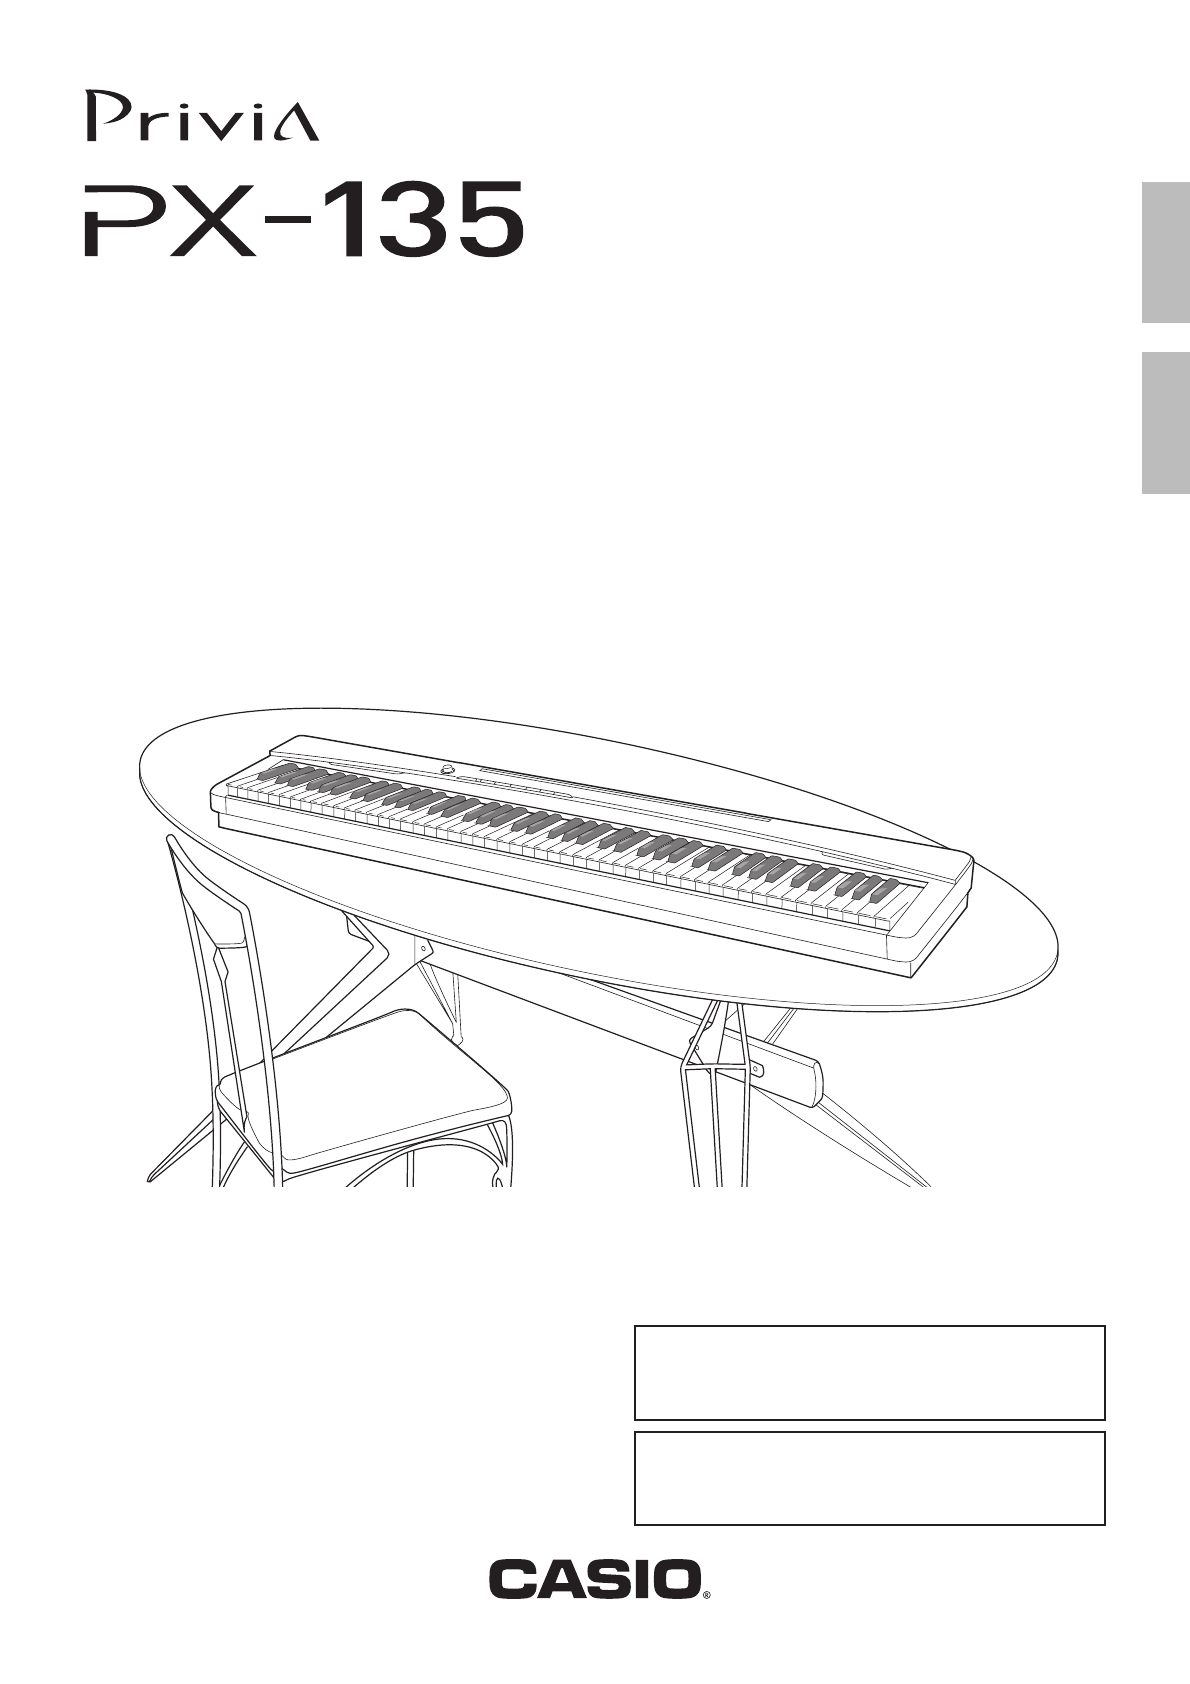
PX135-ES-1AESUSER’S GUIDEGUÍA DEL USUARIOPlease keep all information for future reference.Guarde toda información para tener como referencia futura.Sa
E-8Playing with Different TonesNOTE• Of the Digital Piano's 18 built-in tones, the first five are grand piano tone. Each tone has its own distinc
EnglishPlaying with Different TonesE-9Use the following procedure to layer two tones, so they sound at the same time.When specifying two tones for lay
E-10Playing with Different TonesTo turn reverb on and off1.While holding down the FUNCTION button, press the MODERN button to toggle reverb on (lamp l
EnglishPlaying with Different TonesE-113.While holding down the FUNCTION button, use the TEMPO keys to specify a tempo value in the range of 20 to 255
E-12Playing with Different TonesChanging the Octaves of the duet keyboardsYou can change the ranges of the left and right keyboards in octave units fr
E-13EnglishPlaying Back Built-in SongsYour digital piano comes with a Music Library of 60 built-in tunes. You can play all 60 tunes in sequence, from
E-14Playing Back Built-in Songs3.Press the SONG a button.• This starts the playback of the song.4.To stop playback, press the SONG a button again.• Pl
E-15EnglishRecording and Play BackYou can store the notes you play in digital piano memory for later playback.A track is a container of recorded data,
E-16Recording and Play BackAfter recording to either of the tracks of a song, you can record to the other track while listening to playback what you r
EnglishRecording and Play BackE-171.Press the RECORDER button so its lamp is lit.2.While holding down the FUNCTION button, press the RECORDER (L) butt
TO REDUCE THE RISK OF FIRE OR ELECTRIC SHOCK, REFER SERVICING TO QUALIFIED SERVICE PERSONNEL.Important!Please note the following important information
E-18Recording and Play BackThe following procedure deletes a specific track of a song.IMPORTANT!• The procedure below deletes all of the data of the s
E-19EnglishConfiguring Settings with the KeyboardIn addition to selecting tones and Music Library tunes, you also can use the FUNCTION button in combi
E-20Configuring Settings with the Keyboard•The numbers 1 through cl correspond to the same numbers in the “Parameter List” on pages E-21 - E-23.Keyboa
Configuring Settings with the KeyboardE-21English Tones Song/MetronomeParameter ListParameter SettingsOperation Type (page E-19)Description Remarks1
E-22Configuring Settings with the Keyboard KeyboardParameter SettingsOperation Type (page E-19)Description Remarks3Keyboard key (Transpose)–12 to 0 t
Configuring Settings with the KeyboardE-23English MIDI and Other SettingsParameter SettingsOperation Type (page E-19)Description RemarksbpUSB device
E-24Connecting to a ComputerYou can connect the digital piano to a computer and exchange MIDI data between them. You can send play data from the digit
EnglishConnecting to a ComputerE-25What is MIDI?The letters MIDI stand for Musical Instrument Digital Interface, which is the name of a worldwide stan
E-26Connecting to a Computer4.Double-click “PIANO”.• “PIANO” contains folders named MUSICLIB and RECORDER. Use MUSICLIB to load a song into the piano’
EnglishConnecting to a ComputerE-275.After the file copy operation is complete, return the USB device mode to MIDI.• If you are using a Macintosh, per
E-1EnglishContentsGeneral Guide ... E-2FUNCTION Button... E-3Saving
E-28ReferenceTroubleshootingProblem Cause ActionSee PageNo sound is produced when I press a keyboard key.1. The VOLUME controller is set to “MIN”.1. R
ReferenceE-29English• Specifications and designs are subject to change without notice.Product SpecificationsModel PX-135BK/PX-135WEKeyboard 88-key pia
E-30ReferenceBe sure to read and observe the following operating precautions. LocationAvoid the following locations for this product.• Areas exposed
ReferenceE-31EnglishAC Adaptor Handling PrecautionsModel: AD-A12150LW1. Read these instructions.2. Keep these instructions on hand.3. Heed all warning
A-1Appendix/ApéndiceTone List/Lista de tonosTone Name/Nombre de tonosProgram Change/Cambio de programaBank Select MSB/MSB de selección de bancoGRAND P
Function Transmitted Recognized RemarksBasic Channel1 - 161 - 161 - 161 - 16Default ChangedNoteNumber0 - 127 0 - 1270 - 127*1True voiceAfter TouchCont
ProgramChangeOO0 - 127:True #System ExclusiveOOSystem CommonXXXXXX: Song Pos: Song Sel: TuneAux MessagesRemarksSystem Real TimeOOXX: Clock: Commands66
This recycle mark indicates that the packaging conforms to the environmental protection legislation in Germany.Esta marca de reciclaje indica que el e
E-2General Guide21 3 4 5 6 879 bk blbm bn boLeft Side BottomBackInstalling the Music StandInsert the bottom of the music stand into the groove on the
General GuideE-3EnglishNOTE• The names shown here are always indicated in bold when they appear within the text of this manual.The FUNCTION button is
E-4Power OutletYour digital piano runs on standard household power. Be sure to turn off power whenever you are not using the digital piano.Use only th
E-5EnglishConnectionsIMPORTANT!• Whenever connecting something to the digital piano, first use the VOLUME controller to set the volume to a low level.
E-6ConnectionsConnecting the supplied pedal (SP-3) to the DAMPER PEDAL jack makes it possible to use the pedal as adamper pedal.Pressing the damper pe
E-7EnglishPlaying with Different TonesThe piano comes with 18 built-in tones.• The names of the tones are marked above the keyboard keys to which they
Related products and manuals for Networking Casio Adaptor
 (24 pages)
 (54 pages)
© 2020, manymanuals.com. All rights reserved. | 0.952 s |
 Manymanuals.com
 Manymanuals.de
 Manymanuals.fr
 Manymanuals.it
 Manymanuals.pl
 Manymanuals.cz
 Manymanuals.es
 Manymanuals-pt.com
Comments to this Manuals