Casio DIVAR AN 3000 Installation Guide
Browse online or download Installation Guide for Serial switch boxes Casio DIVAR AN 3000. Casio DIVAR AN 3000 Installation guide User Manual
- Page / 52
- Table of contents
- BOOKMARKS
- DIVAR AN 3000 / DIVAR AN 5000 1
- Table of contents 3
- Basic Safety 4
- Basic Safety 5
- Important Notices 6
- FCC and UL 8
- System overview 9
- Quick install 10
- Quick install 11
- Primary connections 12
- Optional connections 12
- Powering up 13
- Startup Wizard 15
- Reset startup wizard 16
- Schedule 18
- Shutdown/Logout 20
- First time operation 21
- Figure 4.2: Playback and zoom 22
- First time operation 23
- Quick menu 24
- Mouse controls 25
- Main menu 27
- Search/Playback 28
- First time operation 31
- First time operation 33
- Figure 4.6: Export screen 34
- Maintenance 35
- Figure 5.2: DIVAR AN 5000 36
- Maintenance precautions 37
- Connector/processor damage 38
- Replace internal battery 39
- Install HDD in DIVAR AN 3000 40
- Install HDD 1 41
- Install HDD 2 42
- Install HDD in DIVAR AN 5000 43
- Install HDD 3 and 4 46
- Install DVD in DIVAR AN 3000 47
- Install DVD in DIVAR AN 5000 49
Summary of Contents
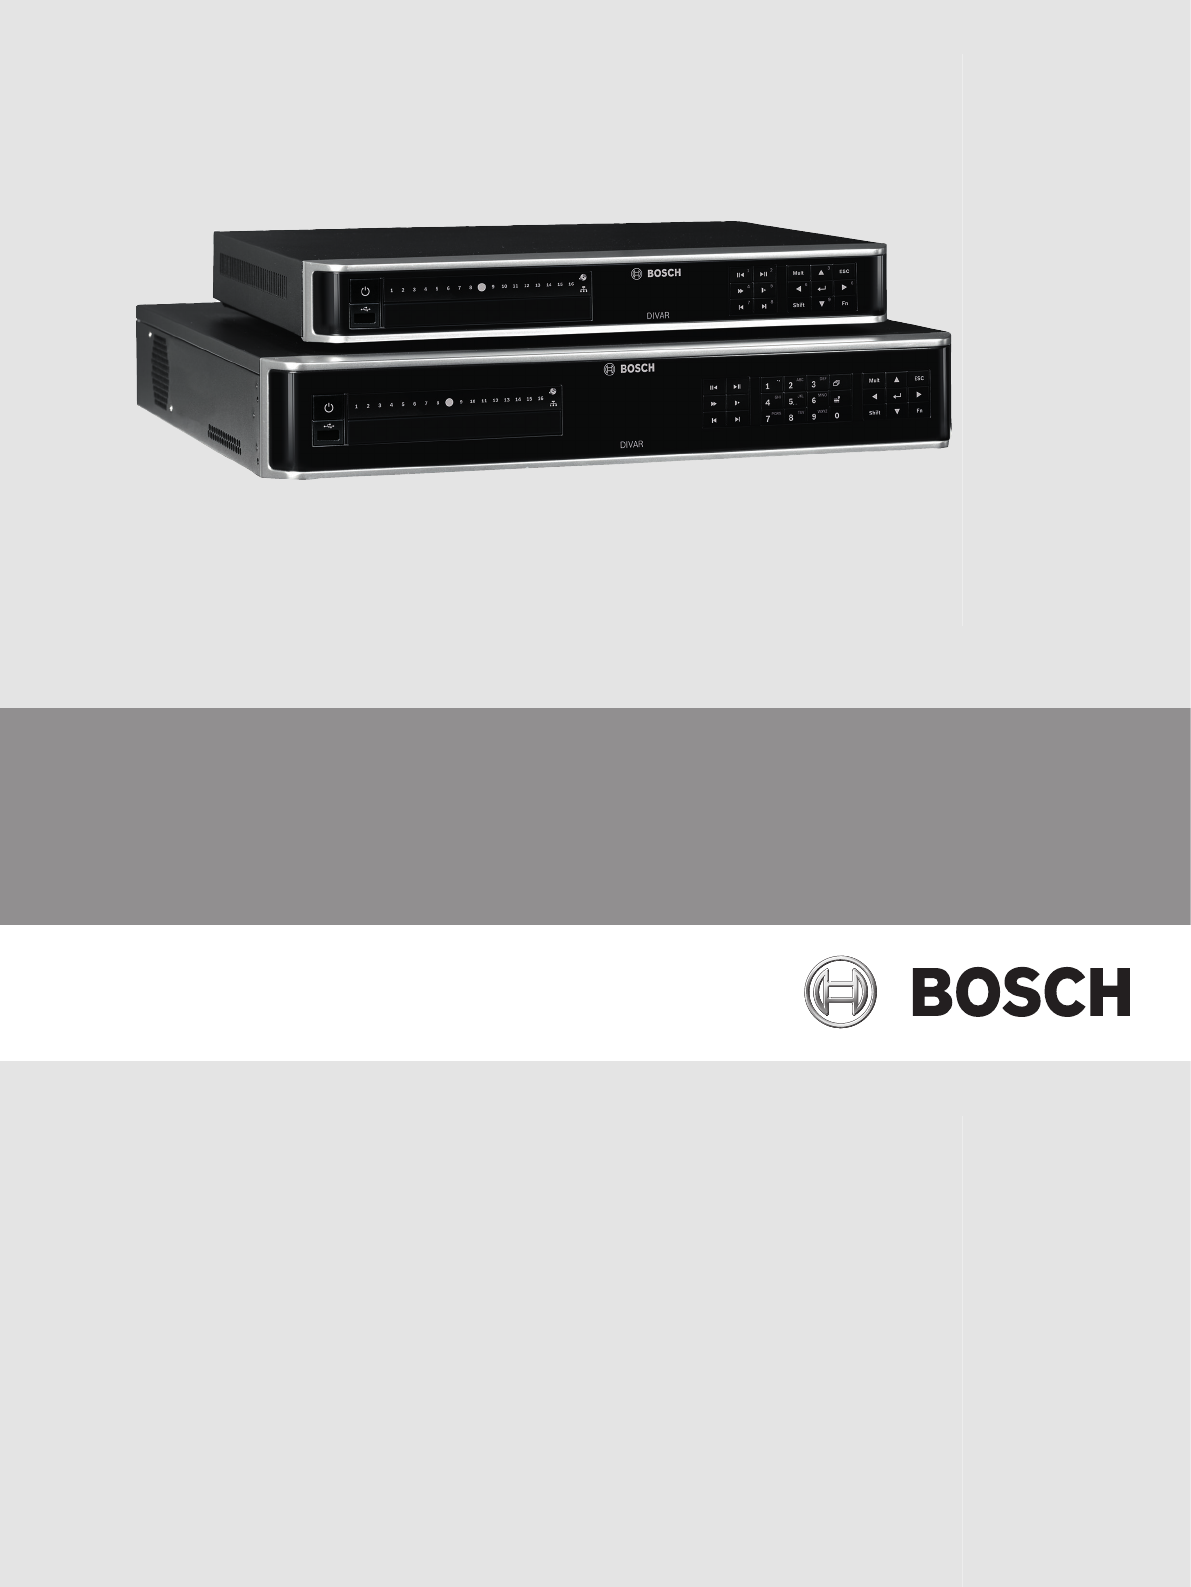
DIVAR AN 3000 / DIVAR AN 5000Digital Video Recorder en Quick Installation Guide
Quick installTo get the unit operational, perform the following quick install steps:1. Make all the hardware connections – see Connections, page 10.2.
Connections on back of DIVAR AN 5000 (16-channel)5 6 7 8 9 10 11 12 13 14 15 161234ALARM OUTRS-485AUDIO OUTETHERNETC3ALARM ING+_GNO3NO1NO2C2C1AUDIO IN
Connections on back of DIVAR AN 5000 (4/8-channel)5 6 7 81234ALARM OUTRS-485AUDIO OUTETHERNETC3ALARM ING+_GNO3NO1NO2C2C1AUDIO INHDMI MON.ARS-232VGA MO
6. Connect up to 6 ALARM OUT outputs (via the supplied terminal blocks).7. Connect a pan/tilt/zoom control unit to the RS-485 or RS-232 port.8. Connec
LoginThe system login interface is shown in the following figure: When you startup the system for the first time, the Startup Wizard appears where you
Startup WizardThe Startup Wizard opens automatically after you log in for the first time. See followingscreen:Select a language and video standard fro
Reset startup wizardIf required, select the check box here to activate the Startup wizard after the next systemrestart (this is only useful if you nee
– When ready, click <Next step> to move to the Encoder Startup wizard screen.EncodeAssign here the encoder settings and click <Next step>
ScheduleAssign here all the schedule settings and click <Next step> for the next Startup wizard screen(Record settings). Use <Copy> to cop
NetworkAssign here all the network settings and click <Finished> to complete the Startup wizard (youwill need to confirm the setup by clicking &
Shutdown/Logout1. Right-click the mouse to access the Quick menu; from here choose the option Mainmenu.2. Select the Shutdown option on the Main menu
First time operationOnce the Startup Wizard steps have been completed, your monitor will show the live viewingmode with real time camera displays - se
Each channel view has one or more of the following icons displayed:Recording – this icon isdisplayed when a channel isrecording Camera masking – the
Icon name FunctionInstant playback Press to playback the previous 5-60 minutes recorded on thecurrent channel (default is 5 minutes). The playback s
Quick menuWhen in live viewing mode, right-click the mouse for the following quick menu:Figure 4.3: Quick menu Here you can select:– View 1, 4, 9, 16
Mouse controlsMouse FunctionLeft button In Live mode, click once to select channel and choose other functionsIn the Quick menu, use the left mouse but
Right button In Live mode, the following Quick menu appears:If you are currently in a menu, right-click to exit the current menu withoutsaving any mod
Main menuAccess the Main menu as follows:– Use the Enter key and the direction buttons on the front panel or the remote control– Right-click the mouse
Search/PlaybackClick Search/Play in the Main Menu (or from the Quick menu) for the following screen.Note: A disclaimer screen may initially appear (cl
4 Calendarand timeSelect a date to overview the recordings available for that day (dateshighlighted in blue have recordings available for that day). T
Table of contents1Basic Safety 41.1 Safety precautions 41.2 Important safety instructions 41.3 Important Notices 61.4 FCC and UL 82System overview 93Q
6 File list Double click to view a list of recorded files for the selected day.The list displays the first channel of the recorded file (click the num
7 SmartsearchThis function is only active when the system is playing a recording in 1-window mode.Click to activate smart search. See following figu
8 Time bar Displays a maximum 16 channel time bars for the current search date (usethe scroll bars on the right to scroll up and down through the avai
11 Restrict/ProtectUse this function to restrict playback of a recording and/or to protect thatrecording from being deleted. The restrict/protect perm
ExportThe Export menu is accessed from the main menu or Search/Play screen (or by pressing theExport key on the Front Panel or on the remote control).
MaintenanceMaintenance of this unit is limited to:– External cleaning and inspection– Replace internal battery, page 39– Install HDD in DIVAR AN 3000,
Figure 5.2: DIVAR AN 5000 Refer to the Appendix in the Operator Manual for recommended DVD and HDD types. 36en | Maintenance DIVAR AN 3000 / DIVAR AN
Maintenance precautionsAttach ESD strapPrecaution – ESD!Caution!Possible processor damage.When the DIVAR cover is removed for installing, replacing or
Connector/processor damage!Caution!Possible connector damage.Notice also that some cables for both the DIVAR AN 3000 and DIVAR AN 5000 have a lockw
See also– Attach ESD strap, page 37Replace internal batteryThis product uses a 3.0 V Lithium CR2032 battery (article number F01U099057) as the backup
Basic SafetyThis safety section describes safety requirements and the format used for warnings andcautions.Safety precautionsDanger!Indicates a hazard
Install HDD in DIVAR AN 3000See the following components for installing HDD (brackets, rubbers, screws, tie wrap andcables included in package; HDD no
Install HDD 1 (1)(2)(3)(4)(5)(6)(7)(8)(9)(10)(11)(12)4x4x4x4x4x 5.3.1 DIVAR AN 3000 / DIVAR AN 5000 Maintenance | en 41Bosch Security Systems Quick I
Install HDD 2Install HDD 2 in the position of the optional DVD – see following figure:Figure 5.5: Install HDD 2Use the same install steps described fo
Install HDD in DIVAR AN 5000See the following components for installing HDD (brackets, rubbers, screws, tie wrap andcables included in package; HDD no
Install HDD 1 (1)(2)(3)(4)(5)(6)(7)(8)(9)(10)(11)(12)2x2x4x4x2x2x 5.4.1 44 en | Maintenance DIVAR AN 3000 / DIVAR AN 50002014.10 | 2.0 | AM18-Q0668 Q
Install HDD 2Use the same procedure as for installing HDD 1, but include the following extra steps:(5a)(5b)(10a)(8a)(8b)4x 5.4.2DIVAR AN 3000 / DIVAR
Install HDD 3 and 4Use the same install steps as for HDD 1 and 2, but install HDD 3 and 4 at the optional DVDlocation. See following figure. 5.4.346
Install DVD in DIVAR AN 3000See the following components and steps required for this installation (screws included inpackage):Figure 5.7: DVD install
(1)(2)(3)(4)(5)(6)(7)(8)(9)4x4x4xFigure 5.8: Install DVD in DIVAR AN 3000 48 en | Maintenance DIVAR AN 3000 / DIVAR AN 50002014.10 | 2.0 | AM18-Q06
Install DVD in DIVAR AN 5000See the following components and steps required for this installation (spacers and screwsincluded in package):Figure 5.9:
7. Controls adjustment - Adjust only those controls specified in the operating instructions.Improper adjustment of other controls may cause damage to
(1)(2)(3)(4)(5)(6)(7)(8)(9)(10)(11)(12)2x4x4x2x4xFigure 5.10: Install DVD in DIVAR AN 5000 50 en | Maintenance DIVAR AN 3000 / DIVAR AN 50002014.10
Bosch Security Systems B.V.Torenallee 495617 BA EindhovenThe Netherlandswww.boschsecurity.com© Bosch Security Systems B.V., 2014
Important NoticesAccessories - Do not place this unit on an unstable stand, tripod, bracket, or mount. Theunit may fall, causing serious injury and/or
!Caution!Electronic Surveillance - This device is intended for use in public areas only.U.S. federal law strictly prohibits surreptitious recording of
Video loss - Video loss is inherent to digital video recording; therefore, Bosch SecuritySystems cannot be held liable for any damage that results fro
System overviewThe Bosch Video Recorder DIVAR 3000/5000 is a multi-channel digital recorder that uses thelatest 960H high resolution technology, plus
© 2020, manymanuals.com. All rights reserved. | 1.775 s |
 Manymanuals.com
 Manymanuals.de
 Manymanuals.fr
 Manymanuals.it
 Manymanuals.pl
 Manymanuals.cz
 Manymanuals.es
 Manymanuals-pt.com
Comments to this Manuals